Use pictures in your forms to show your staff important information
Embedding pictures in your forms is a great way to make quick and easy forms for your staff to complete. Instead of typing out long descriptions and instructions, you can embed a picture in your form to show them what they need to know. To embed pictures in your forms, follow these simple steps.
STEP 1
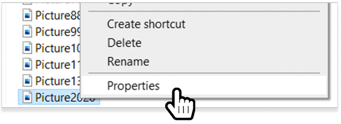
Choose the picture you would like to add to your form. From your file manager, right click on the picture you've chosen and tap Properties.
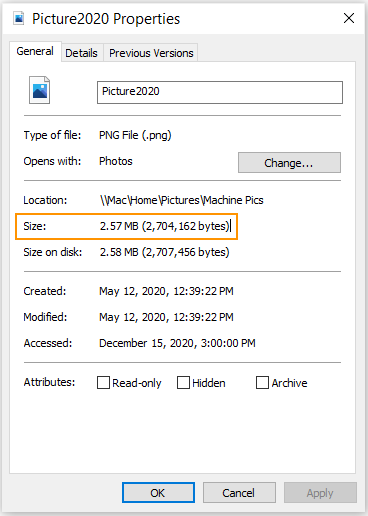
Review the file size of your picture. Your picture should be as close to 600 KB as you can get it.
STEP 2
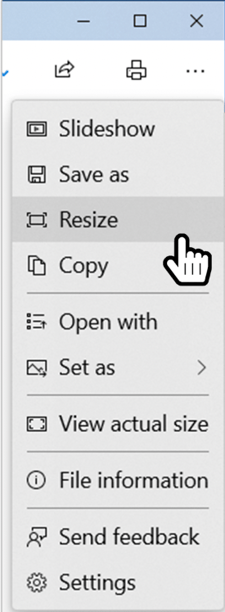
If your file is bigger than 600 KB, it's a good idea to resize your picture. To do this, open your picture in Photos (on a Windows machine), and tap the three dots on the top right side of the window, then Resize.
Next tap "Define custom dimensions". In the Resize image window, adjust the dimensions to be anything lower than 1200. Then update the name of the file and save.
The width and height should not exceed 1200
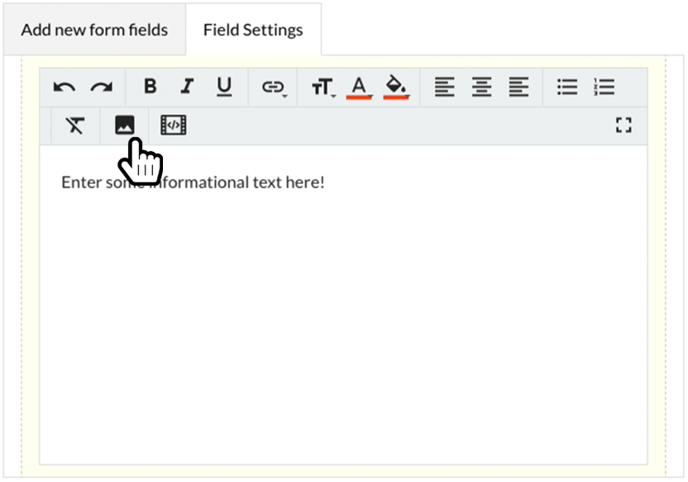
STEP 3
Log into Weever and open the form you want to add the picture to in Form Builder. Add an infobox to your form, then tap the Photo button. Find your compressed picture in your file manager and add it to your form.
And that's it!
Now the picture is embedded in your form